If you use food-grade buckets for storage, you know that the right lid makes all the difference. But installing bucket lids correctly isn't always intuitive, especially if you're working with them for the first time. Whether you're using our Gamma Seal lids for frequent access or Gasketed Tear Strip lids for tamper-evident security, proper installation ensures your contents stay fresh, secure, and protected from the elements.
Understanding Your Lid Options
Before diving into installation instructions, let's quickly review the different lid types we offer and their specific benefits:
Gamma Seal Lids
Best for: Frequent access needs. These two-piece lids offer an air-tight seal with the convenience of a screw-on/off top that doesn't require tools to open once installed.
Shop Gamma Seal Lids →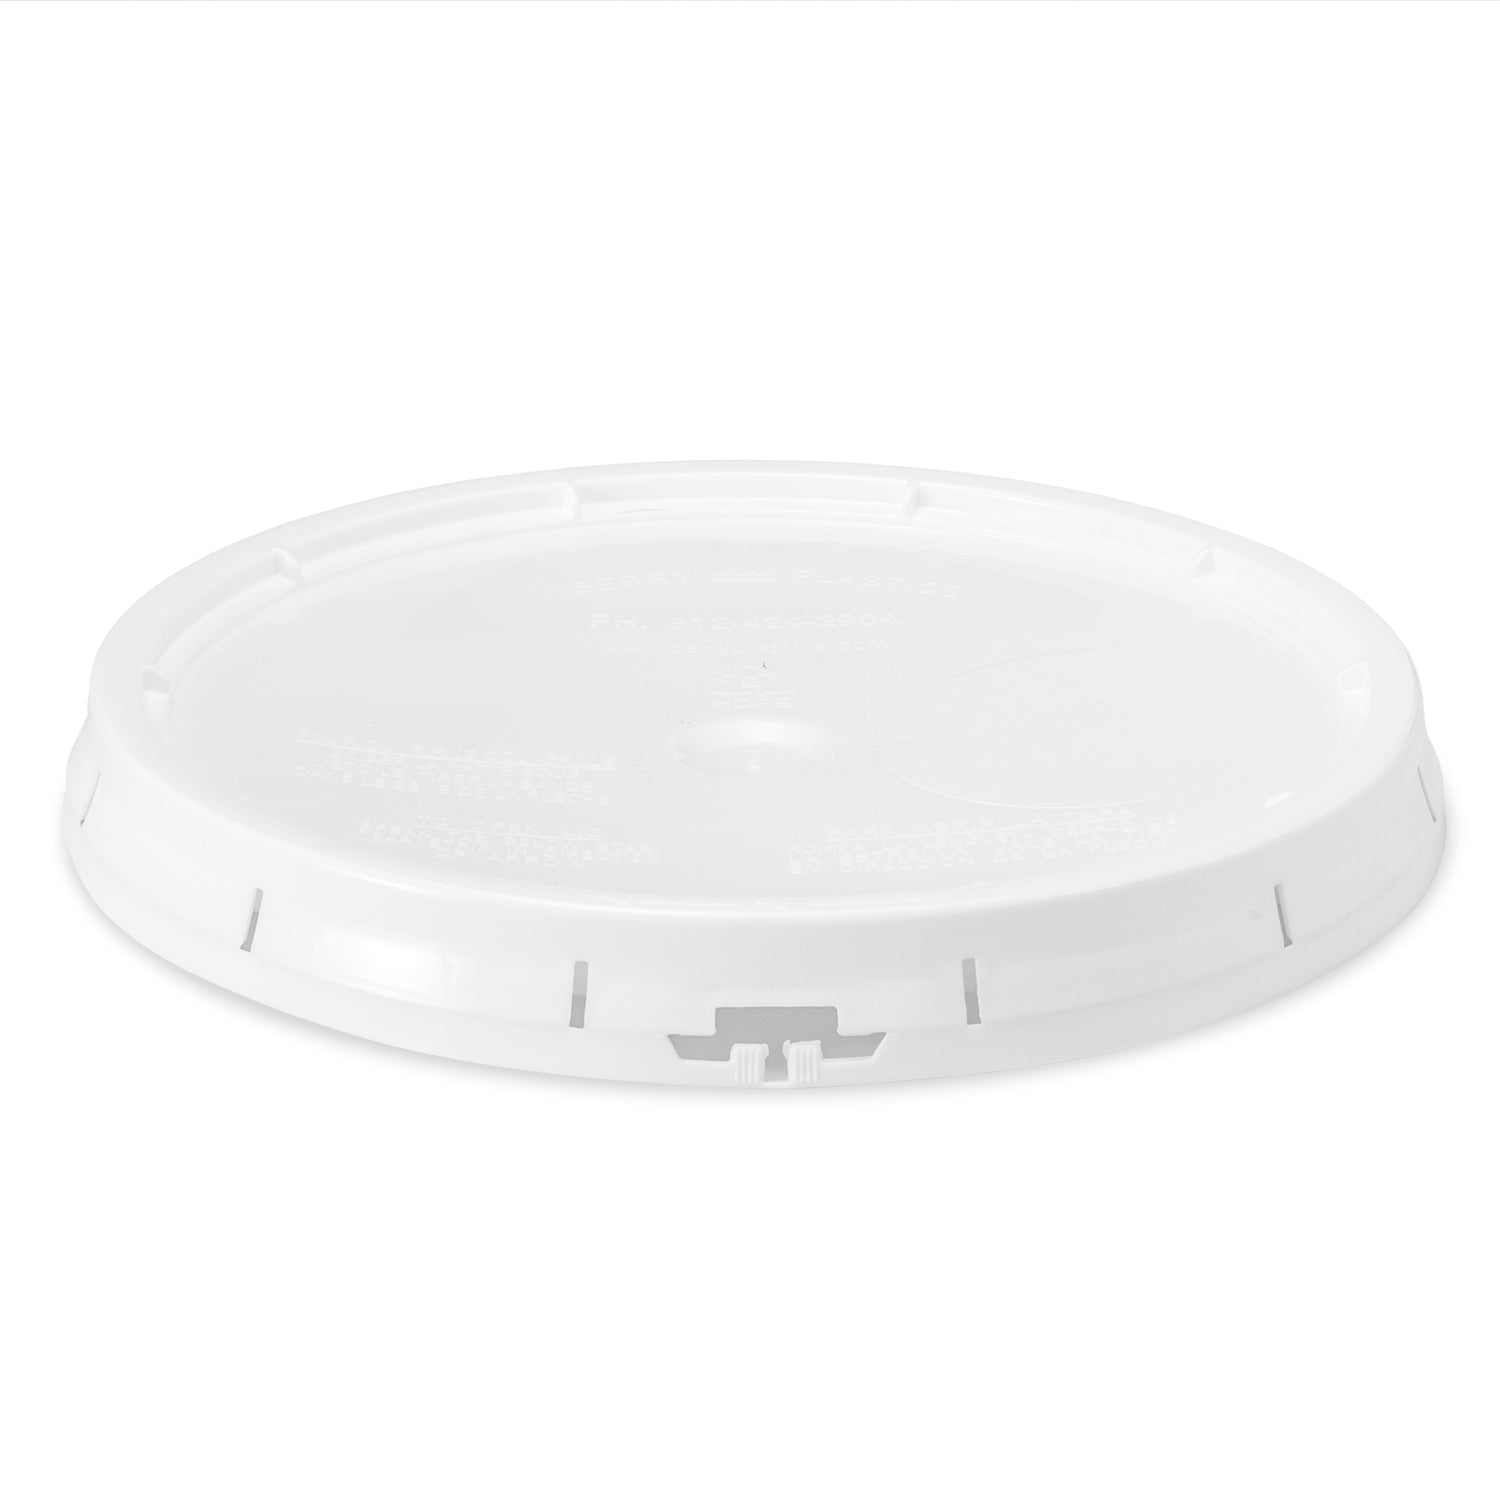
Gasketed Tear Strip Lids
Best for: Secure storage with tamper-evident features. These lids create a strong, air-tight seal and include a tear strip that shows if the bucket has been opened.
Shop Gasketed Tear Strip Lids →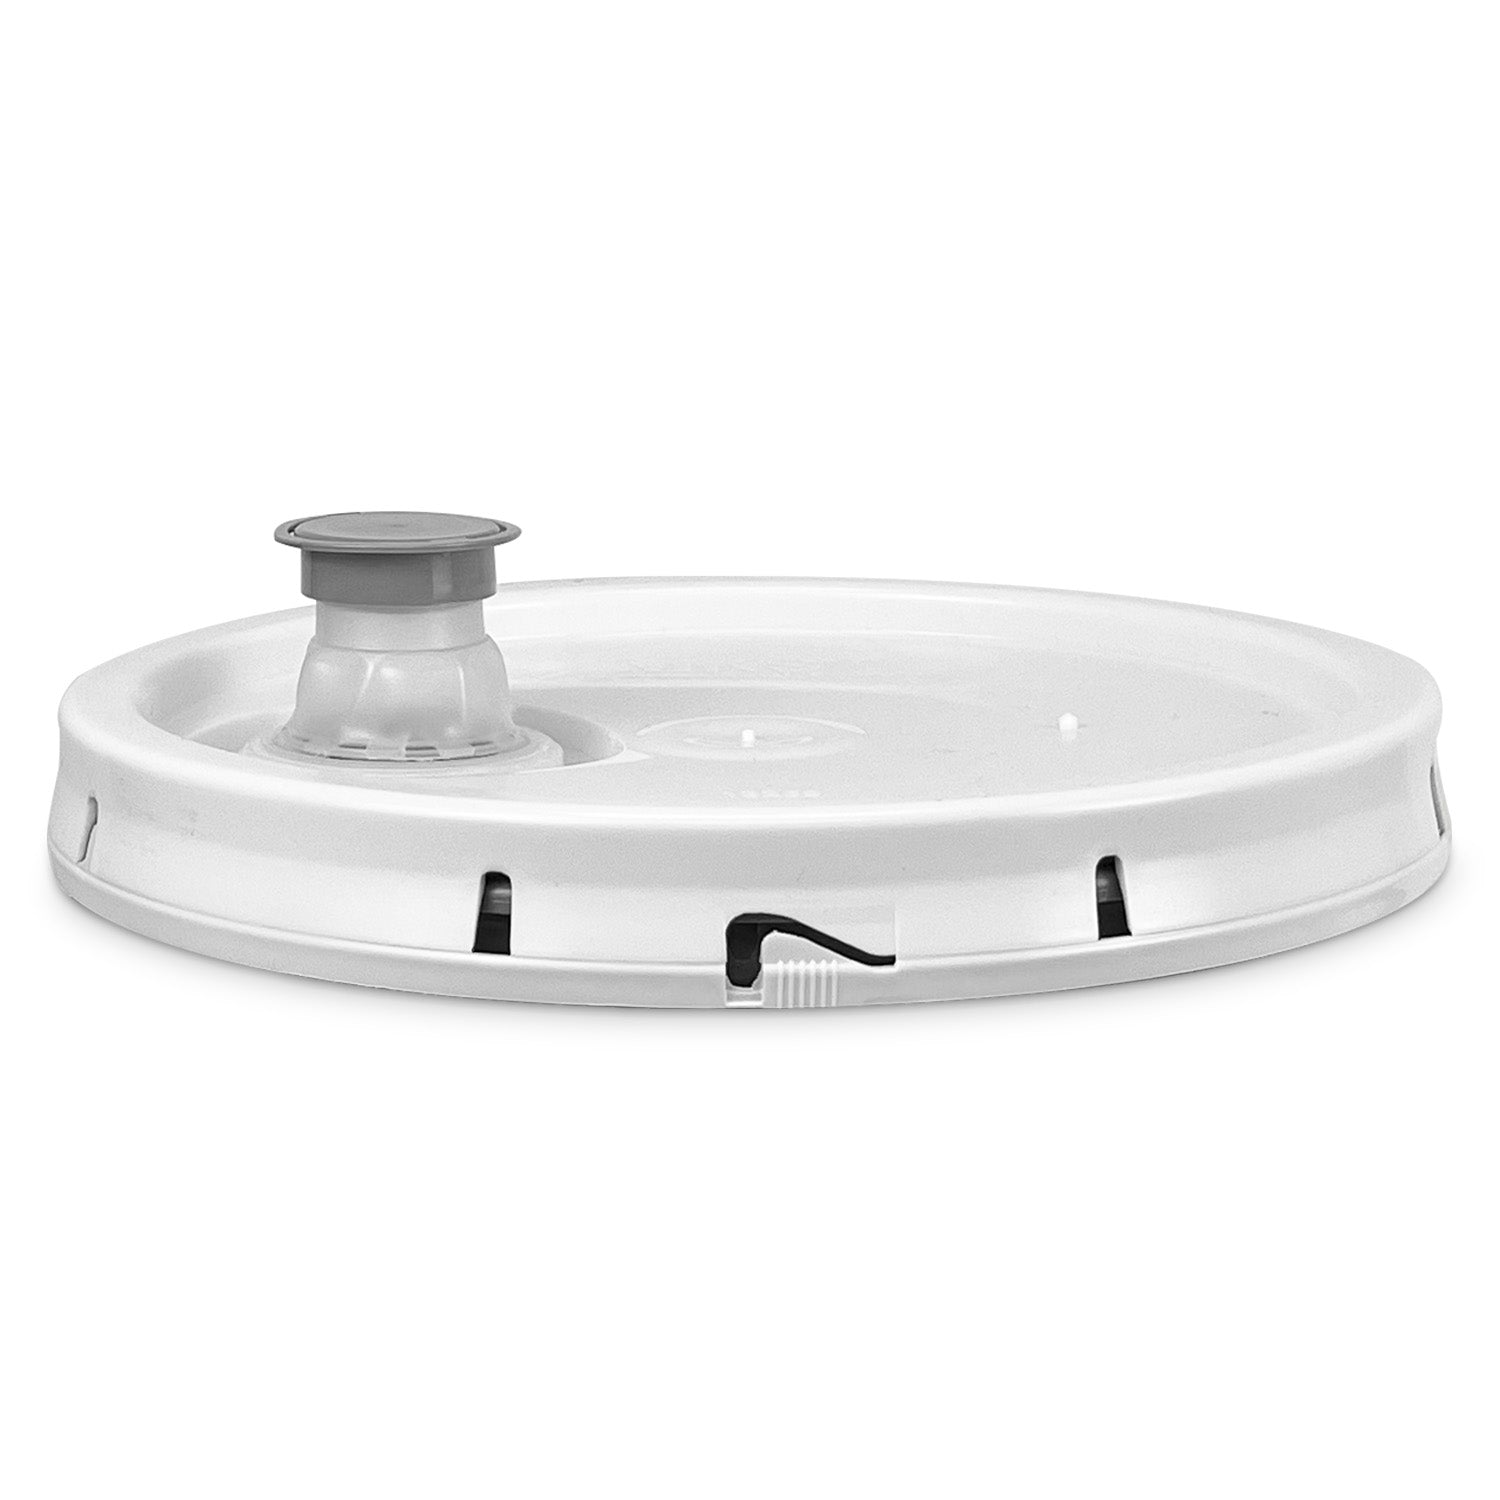
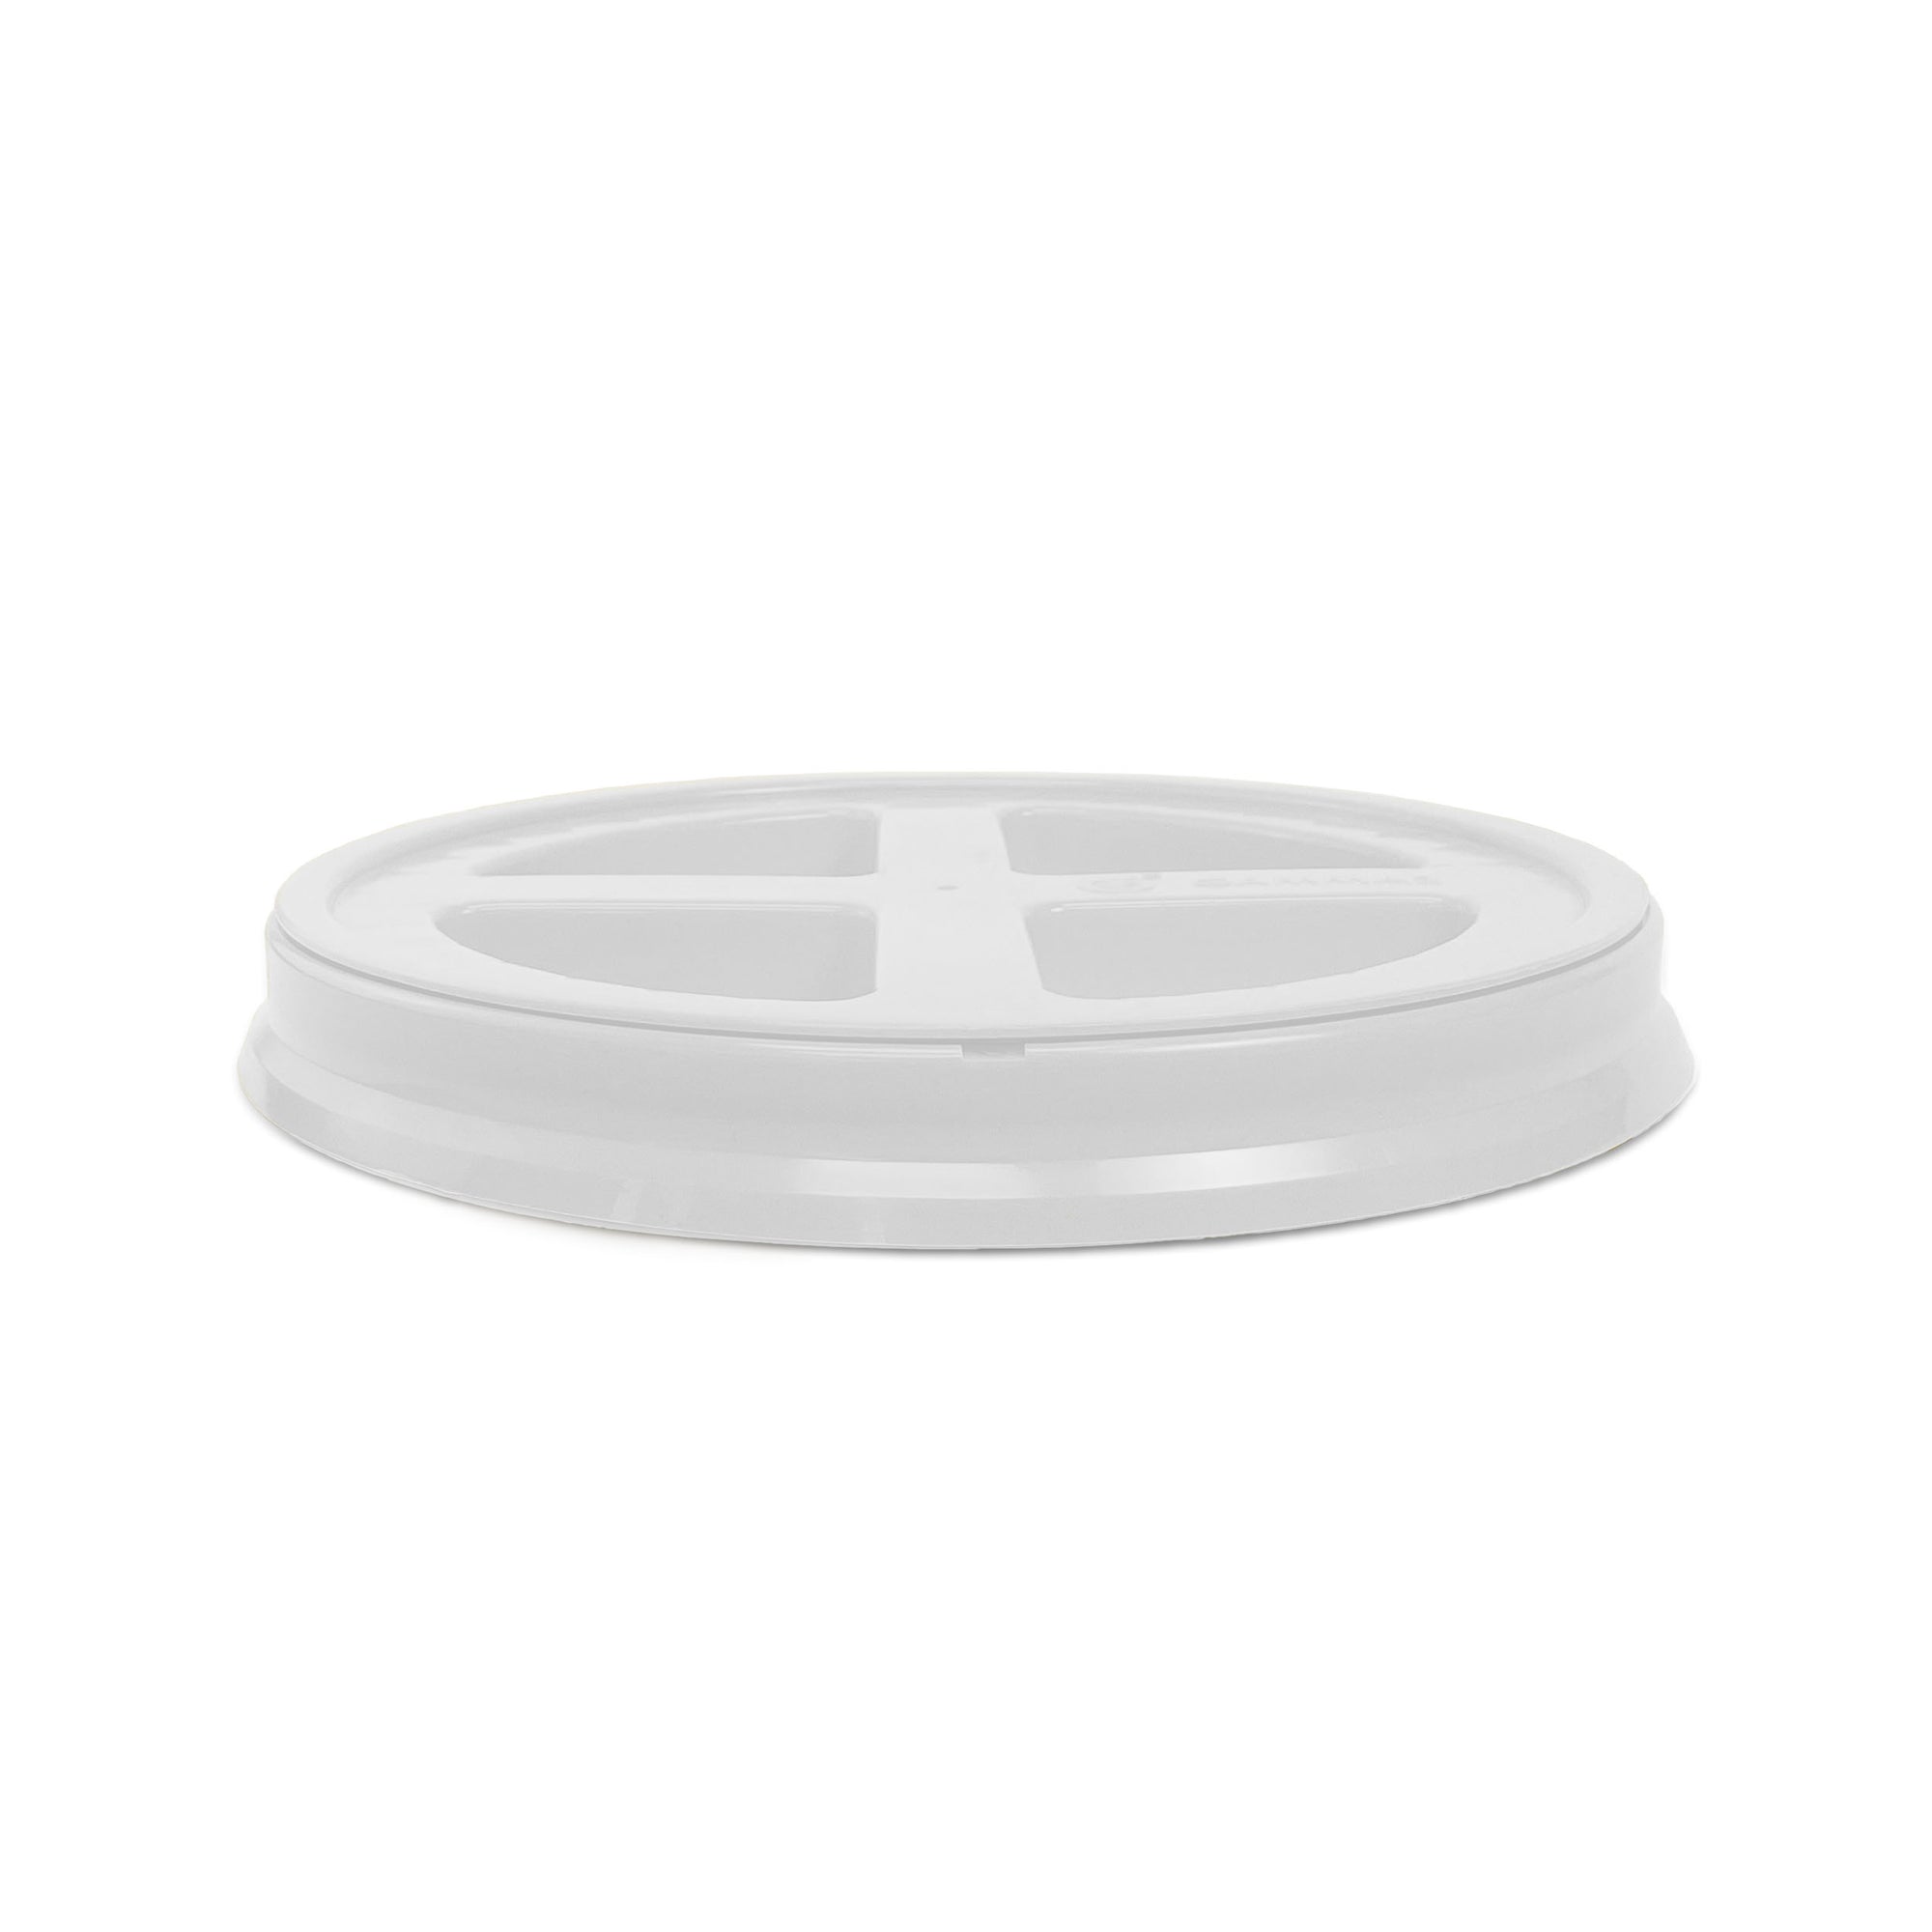
Pour Spout Lids
Best for: Storing liquids or granular materials that need controlled dispensing. These lids include a convenient pour spout that makes dispensing contents easy and controlled.
Shop Pour Spout Lids →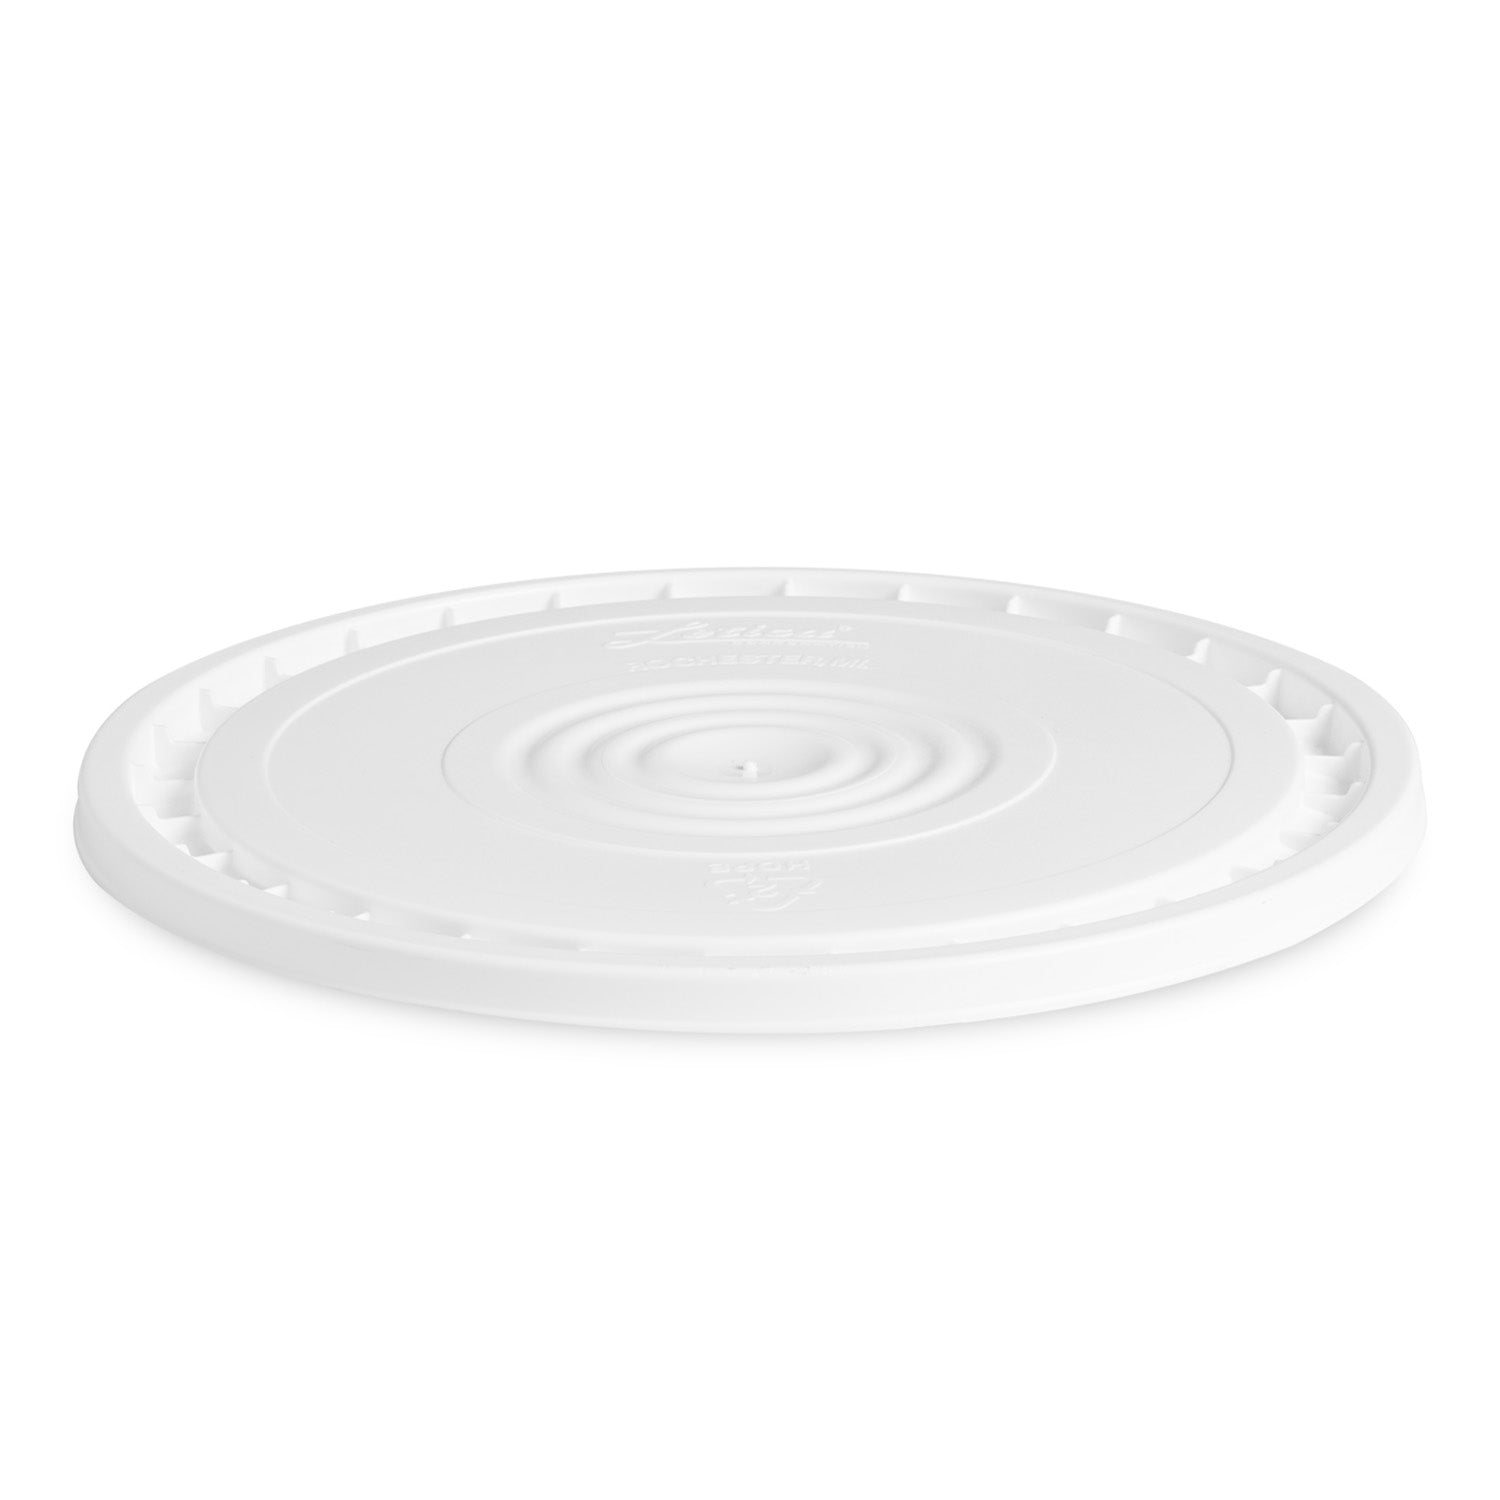
Easy-Off Lids
Best for: Everyday storage with moderate access needs. These lids provide a secure seal while being easier to remove than standard lids.
Shop Easy-Off Lids →Installing Gamma Seal Lids: Step-by-Step
Pro Tip: Many customers underestimate how much force is needed to properly install a Gamma Seal lid. Don't be afraid to use firm pressure with your rubber mallet – these lids are designed to withstand significant force during installation to create a proper seal.
Gamma Seal lids are a two-piece system consisting of an outer ring that permanently attaches to your bucket and a screw-on center lid that gives you easy access. Here's how to install them properly:
Step 1: Separate the Components
First, separate the two pieces of your Gamma Seal lid by twisting off the center lid from the outer adapter ring. You'll install the adapter ring first, followed by the screw-on lid.
Step 2: Position the Adapter Ring
Place the adapter ring on top of your bucket, making sure it's centered and sitting flat on the bucket's rim. The adapter should align evenly with the bucket's edge all the way around.
Step 3: Secure the Adapter Ring
This is where many people go wrong! You'll need a rubber mallet to firmly tap the adapter ring onto the bucket rim. Working your way around the entire circumference, apply strong, even taps until the adapter ring is fully seated.
Quick Tip: Don't be gentle here! The adapter ring needs significant force to properly snap onto the bucket rim. If you're using light taps, you're likely not applying enough pressure. The ring should sit firmly and evenly when properly installed.
Step 4: Attach the Screw-On Lid
Once the adapter ring is securely in place, take the screw-on center lid and place it on top of the adapter. Turn it clockwise until it's fully tightened. You should feel a snug, secure fit when properly closed.
Step 5: Test the Seal
Try unscrewing and reattaching the lid a few times to ensure smooth operation. The lid should turn easily without catching, providing the convenient access that makes Gamma Seal lids so popular.
Installing Gasketed Tear Strip Lids: Step-by-Step
Gasketed Tear Strip lids provide an excellent seal with the added benefit of tamper-evidence – a feature that's particularly valuable for long-term storage or when security is a concern.
Step 1: Prepare Your Bucket
Ensure your bucket rim is clean and free from any debris. For the best seal, the rim should be completely dry and undamaged.
Step 2: Position the Lid
Fill your bucket with the desired contents, leaving appropriate headspace if needed. Place the gasketed lid on top, ensuring it sits evenly on the bucket rim.
Step 3: Secure the Lid
Using a rubber mallet, firmly hit around the entire edge of the lid. Apply even, strong pressure as you work your way around the circumference. You'll need to use considerable force – don't be shy with the mallet!
Quick Tip: Listen for a distinct "snap" sound as you tap around the edge. This indicates the lid is properly seating onto the bucket rim. Continue tapping until you've gone all the way around and the lid sits flush with no raised edges.
Step 4: Check the Seal
Once installed, inspect the lid to ensure it's evenly seated all the way around. The lid should sit flush with the bucket rim with no gaps or raised sections.
Step 5: Opening the Sealed Lid
To open a sealed gasketed lid, locate the pull tab on the side of the lid. Break the tab, then pull it in the direction indicated by the arrows on the lid top. This will break the tamper-evident seal.
The beauty of these lids is that they clearly show if the bucket has been opened – a crucial feature for food storage or situations where security is important. After the first use, the lid can be resealed, but it will no longer be tamper-evident.
Common Installation Mistakes to Avoid
- Using Insufficient Force: The #1 issue we see! Both lid types require significant force with a rubber mallet to properly install. Don't be afraid to hit firmly.
- Uneven Application: Make sure to work your way around the entire lid, applying even pressure throughout.
- Damaged Bucket Rims: Bent or damaged bucket rims can prevent proper sealing. Always inspect buckets before lid installation.
- Using the Wrong Tool: A rubber mallet is essential – using your hands or other tools won't provide the necessary force or could damage the lid.
- Partial Installation: With Gamma Seal lids, ensure the adapter ring is fully seated before attempting to attach the screw-on lid.
Choosing the Right Lid for Your Needs
Choose Gamma Seal Lids If:
- You need frequent access to bucket contents
- You want the convenience of a screw-on/off lid
- You're storing items that will be accessed regularly
- You want to avoid tools for everyday opening/closing
- You need an air-tight and water-resistant seal
Choose Gasketed Tear Strip Lids If:
- You need tamper-evident security features
- You're storing items long-term
- You want to ensure contents remain untouched
- You need a strong, secure seal
- You're storing items that won't need frequent access
Essential Tools for Bucket Lid Installation & Removal
Having the right tools on hand makes bucket lid installation and removal much easier. These accessories are worth adding to your toolkit:
Rubber Mallet
A must-have tool for properly installing both Gamma Seal and Gasketed Tear Strip lids. The rubber head provides the necessary force while minimizing the risk of damage to your lids.
Shop Rubber Mallets →Bucket Lid Opener
Makes removing tight-fitting lids much easier, especially for gasketed lids that have been sealed for a while. This tool provides the leverage you need without damaging the bucket or lid.
Shop Bucket Lid Openers →Properly installed bucket lids make all the difference in preserving your stored items, whether you're storing emergency food supplies, bulk ingredients, or household items. With the right installation technique and the appropriate lid for your needs, you can ensure your buckets provide reliable, long-lasting storage.
Have questions about which lid is right for your application? Our team is always happy to help you find the perfect storage solution for your specific needs.
Find the Perfect Bucket Lid for Your Storage Needs
Browse our complete selection of high-quality, food-grade bucket lids designed for durability and convenience.